Friday, March 13, 2015

Easiest Chocolate Syrup Ever!

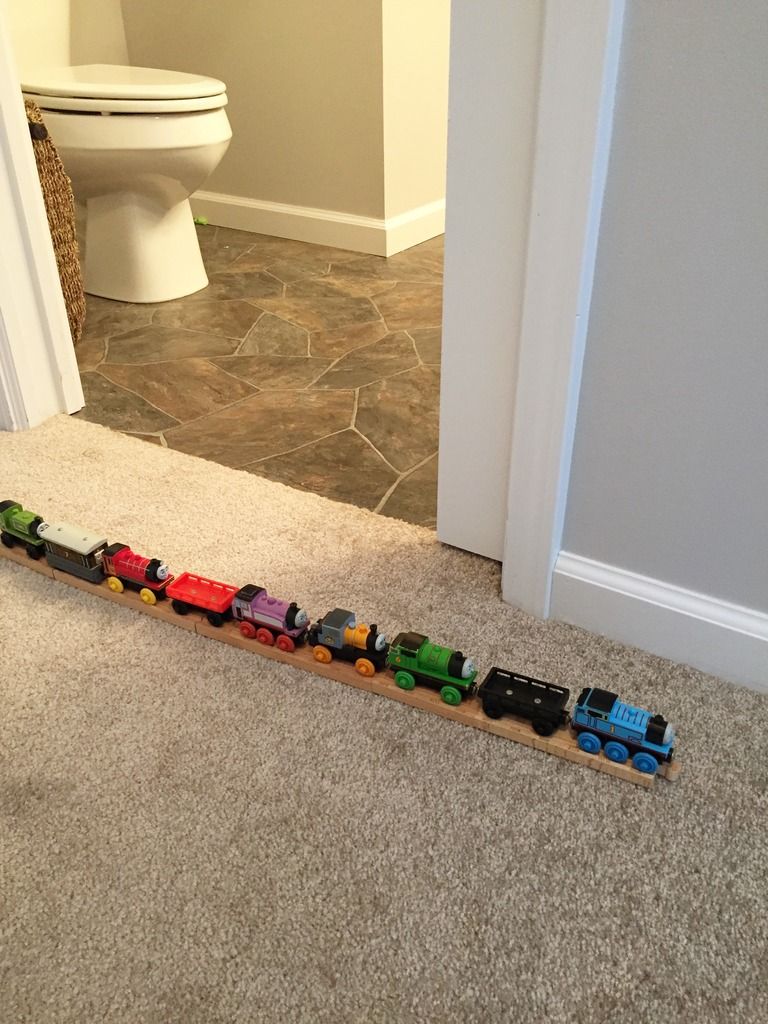
Have you ever noticed that going into the bathroom and closing the door will result in some sort of imminent catastrophe?
Built a train in the 2 minutes I was in there.
  • Children punching each other
  • Husband can't find (fill in the blank with what ever is missing) and he needs it immediately
  • Urgent phone call
  • Dog needs to go out right away
  • Children are starving "we will die if we don't get a snack at this moment"
  • Self inflicted hair cuts
  • Mom, I need my medium sized Spiderman
  • Mommy, I need to poop
  • Honey, "How do I turn on the dishwasher"
And on, and on, and on...
I usually leave the lavatory without accomplishing my original mission, and often forgetting what I even went in for.

It actually amazes me how they can hear the click of the bathroom door from 4 rooms away, but can't hear a thing I say when standing right next to them.
The whole thing seems like an unnatural phenomena.  
I've been fine tuning my ninja skills in order to close the bathroom door unnoticed.

Well, gotta go...
In the time it's taken me to type this I've had at least 5 urgent requests.
I wish you peace in the potty today...it really is the little things!

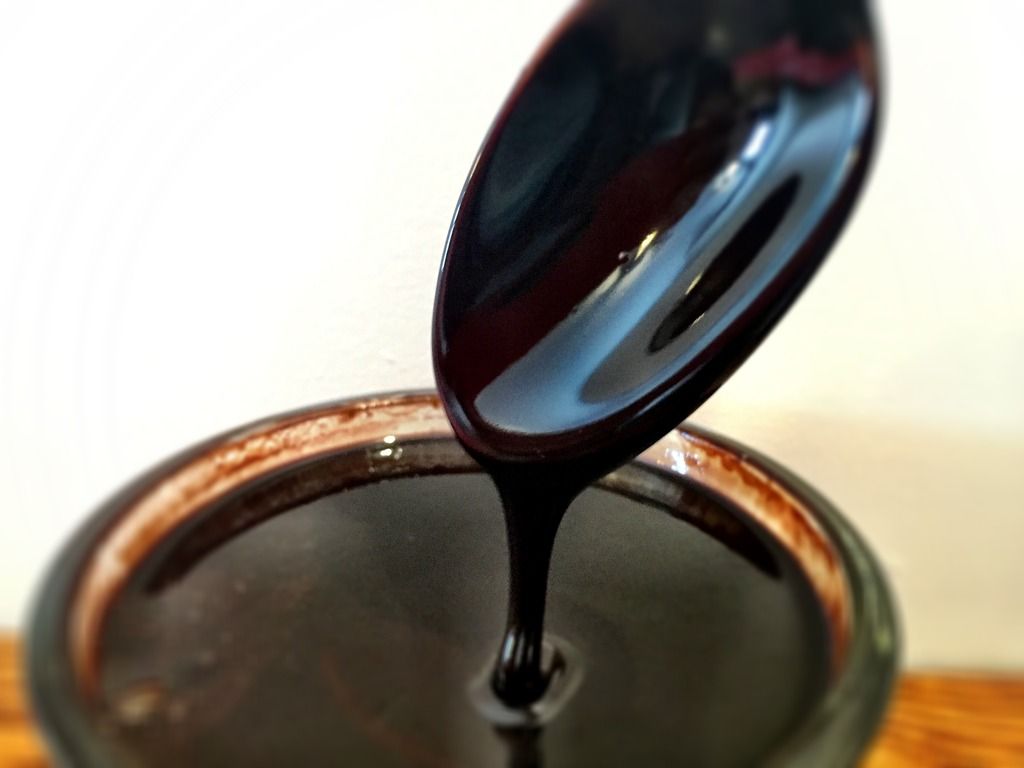
Chocolate Syrup
Homemade chocolate syrup is a staple in our house. Super easy to make and lacking all of the mystery ingredients found in the store bought version. I usually reduce the sugar in this recipe by a little bit, but not too much. Use it to make chocolate milk, as an ice cream topping, or to make hot chocolate.

Ingredients
1 1/2 cups sugar
3/4 cup unsweetened cocoa powder(found in the baking isle)
1 cup water
pinch of salt

Method
  1. In a small saucepan, mix sugar, cocoa and salt.
  2. Add water and stir well.
  3. Bring mixture to a boil over medium heat, stirring when you remember to.
  4. Reduce heat and cook for 1 minute.
  5. Remove from heat and cool.
  6. Store in the refrigerator.
What'd You Do This Weekend Featured
My Pinterventures

Thursday, March 5, 2015

Mini Mason Jar Cheesecake!

My love for Mason jars runs deep.
I'm seriously kinda obsessed with them. 
Functional, beautiful, environmentally friendly, affordable...
And there are so many uses!
Canning
Freezing
Food storage
Crafts
But today's recipe and its use of jar lids takes the cake.
The cheesecake.

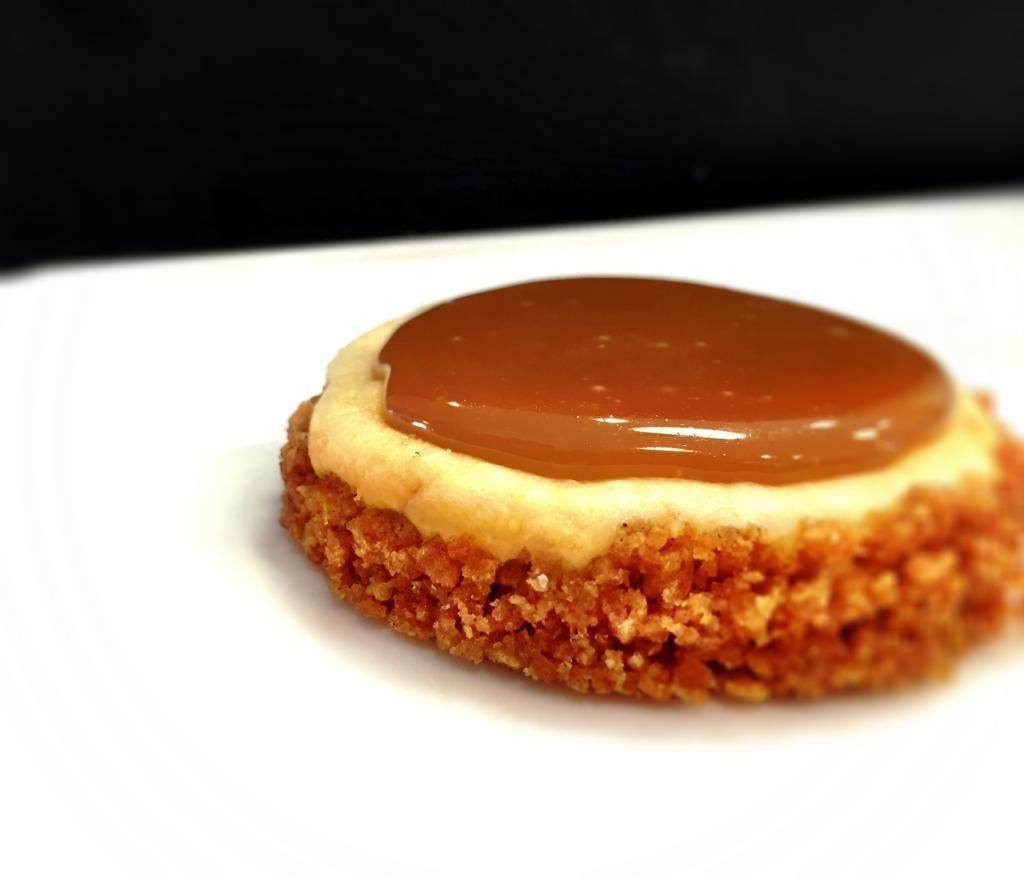
These perfectly portioned cheese cakes are easy, delicious and adorable. 
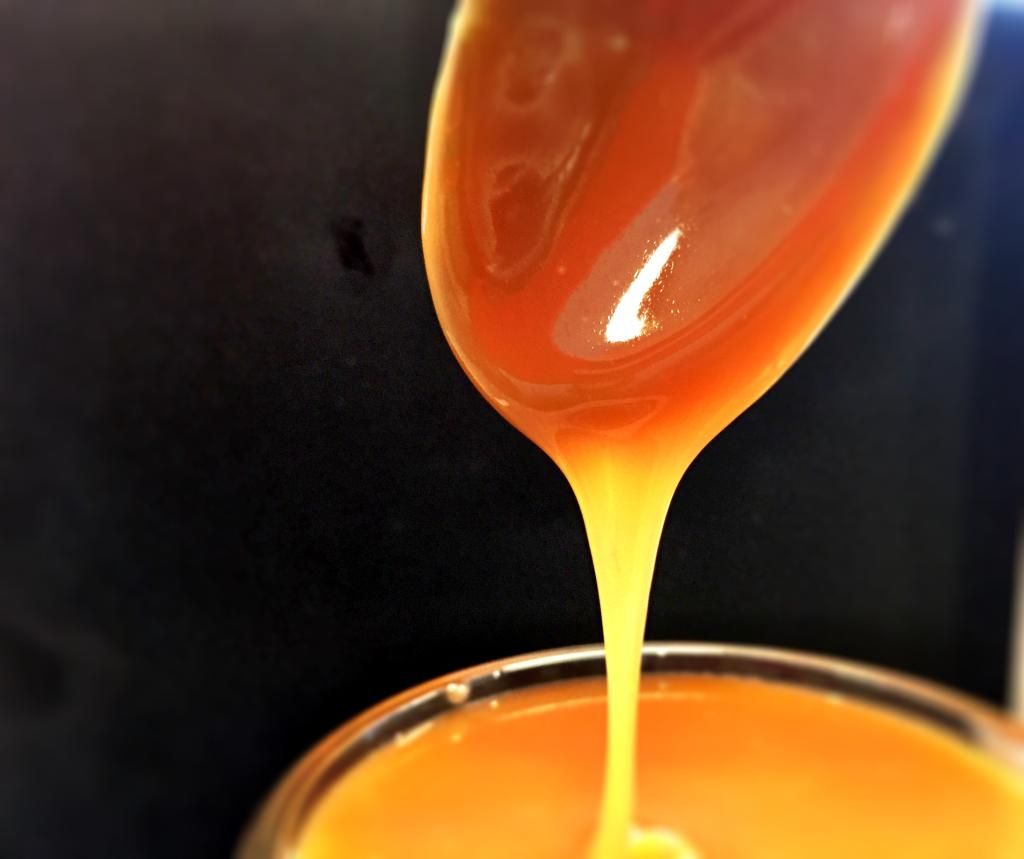
I've topped mine with a simple caramel sauce, but feel free to be creative.
Classic cherry
Fudge
Blueberry
Salted caramel
Lemon curd
Lots of options!

Make one or make 'em all and have a cheesecake bar at your next gathering.
Or just after dinner tonight!

Mini Mason Jar Cheesecake
The Mason jar lids and rings will act as mini spring form pans. After cheesecakes have baked and cooled you will be able to easily pop them out of the rings.

Ingredients
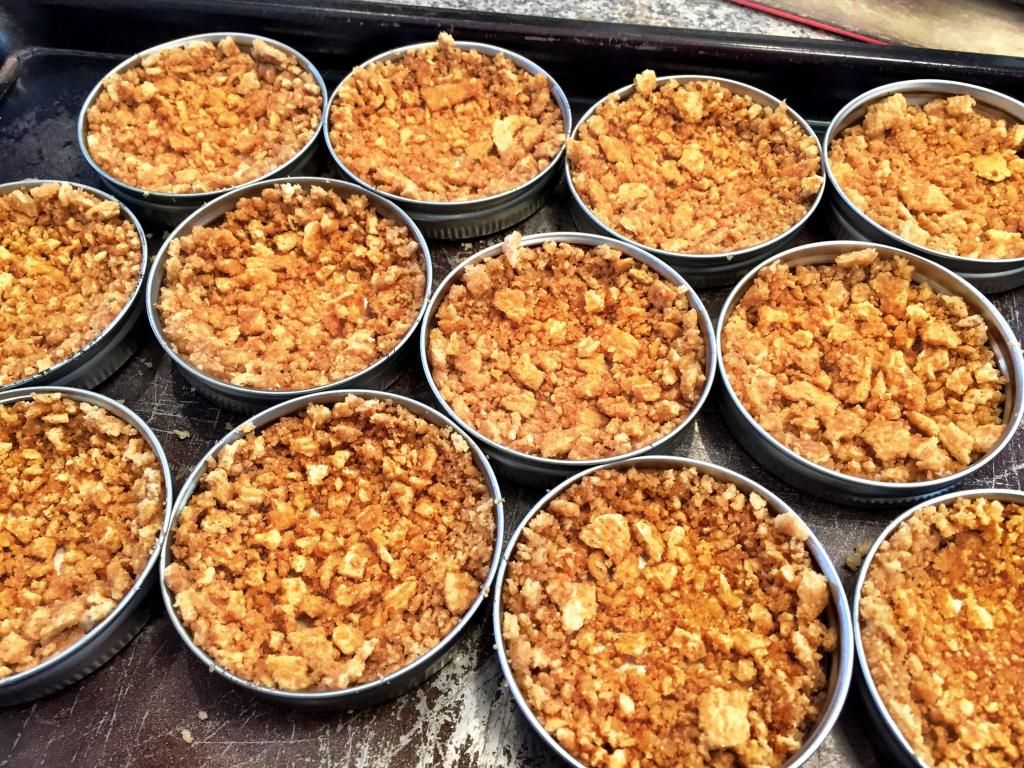
Cereal crusts.
Crust:
1 cup crushed Cinnamon Toast Crunch(about 2 cups whole cereal)
3 Tablespoons butter, melted
Cheesecake filling:
1 8 oz cream cheese, room temperature
1/3 cup sugar
2 teaspoons flour
1 egg
1/2 teaspoon vanilla
2 Tablespoons sour cream
2 Tablespoons cream
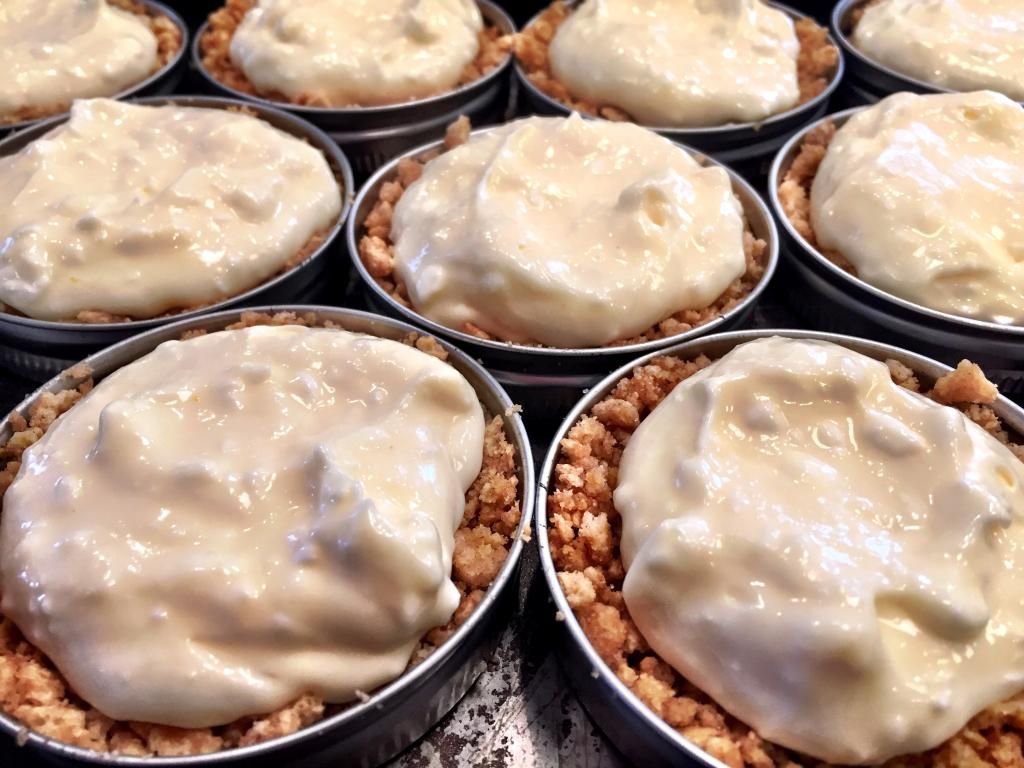
Before heading to the oven.
Caramel Topping:
1/2 cup butter
1 cup brown sugar
1/3 cup heavy cream

Method
  1. For crust, combine crushed cereal and melted butter.
  2. Press the cereal combination into 12 mason car lids/rings.Set aside.
  3. Preheat oven to 350 degrees.
  4. For cheesecake filling, combine all ingredients in the bowl of an electric mixer.
  5. Starting on low, mix ingredients. Gradually increase mixer speed until smooth.
  6. Divide filling among the 12 prepared crusts. Do not overfill.
  7. Bake for 12 minutes and then turn oven off and leave cheesecakes in the oven for 10 more minutes. Do not open the oven door. 
  8. Remove cheesecakes and cool completely.
  9. For caramel topping, melt butter in a medium sauce pan.
  10. Add sugar and cream. Whisk constantly over low heat until sugar is dissolved.
  11. Bring to a boil and boil for 3 minutes. 
  12. Remove from heat and cool. 
  13. Remove cheesecakes from jar lids and top with cooled caramel topping.


What'd You Do This Weekend Featured

Wednesday, February 25, 2015

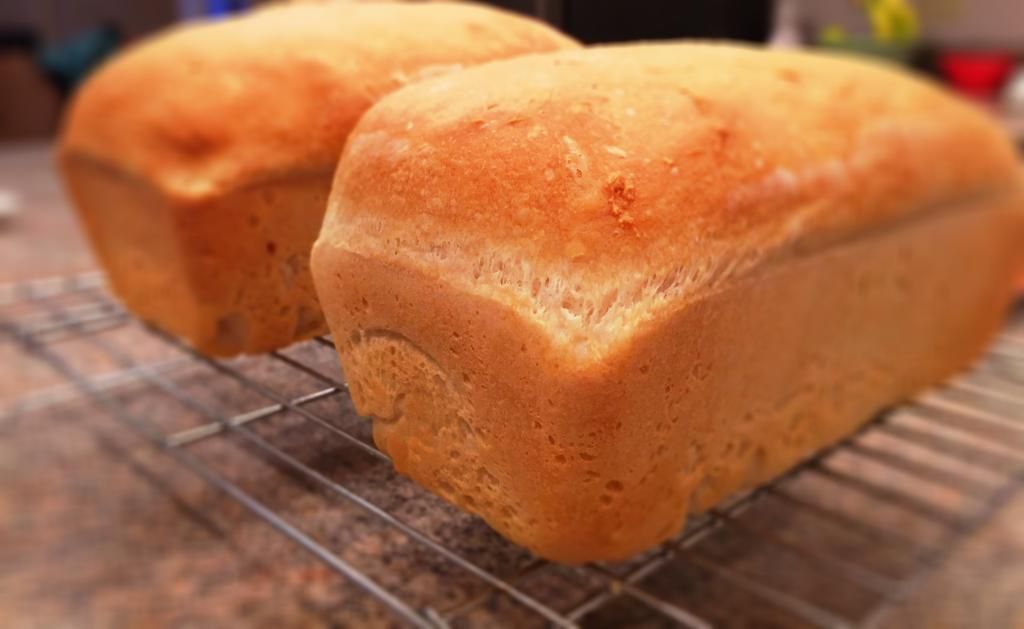
No-Fail Homemade Bread

Bread!
The reason they invented the treadmill, elastic waist pants, and naps. 
The reason my supper was served an hour late tonight, I forgot to start the bread until 4:00!(And bread is a necessary bribe to get my children to eat their lentils).
The reason ham, cheese, and mustard exist. 
Ok. That may have gone a little far.  
But, in all seriousness, what would a sandwich be without bread?
A mess, that's what.

Is there anyone out there who doesn't adore bread?
The homemade kind that's soft and still warm.
Maybe slathered with a little butter for good measure. 

Now, I know that some of us may avoid eating too much of the white stuff for fear that those full panel maternity pants may become a permanent fixture in  the wardrobe rotation.
And some have food sensitivities that prevent consuming all that gluten-y goodness.
But, at the end of the day when it's just you and a piece of homemade, white bread staring you in the face, things get real, fast.


One of my favorite bread recipes is a very close cousin to Julia Child's sandwich bread recipe.
And if Julia made it, you know it has to be good. 
It's an easy, no-fail recipe.
I wish I could say it's quick, but it's not.
The good news is most of the time is not spent actively working on the bread, but rather inactive rise time. 
Maybe a good time to hit the treadmill? 
Or clean?
Or Netflix binge?
So many possibilities for your bread making down time. 

Homemade White Bread

Ingredients:
2 1/2 cups warm water
1 T. active dry yeast
1 T. sugar
6 cups all purpose flour
2 t. salt
1/4 cup vegetable or olive oil

Method:
  1. Pour 1/2 cup of the warm water into the bowl of a stand mixer. Add yeast and sugar, let stand for a few minutes until foamy.
  2. Add the rest of the water and half of the flour. Stir until blended.
  3. Add the salt, oil and the rest of the flour.
  4. Stir until well combined. 
  5. Continue to let the dough hook knead the dough for 8-10 minutes. 
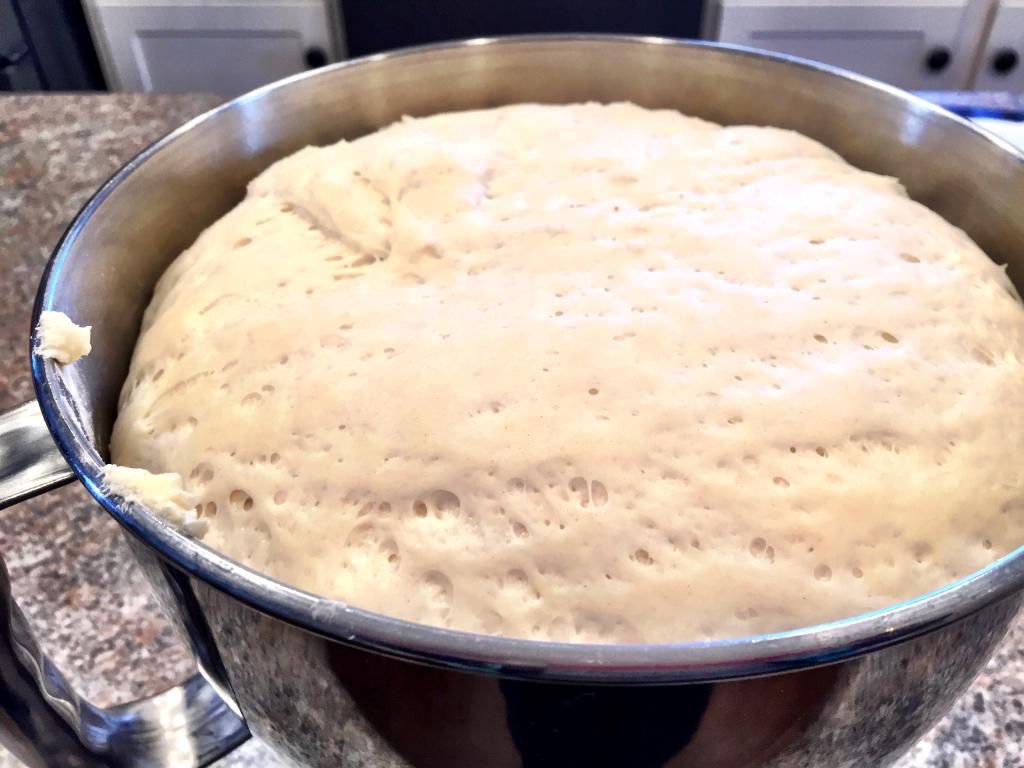
  6. Put the dough back in the bowl, cover with a towel and let rise for an hour.
  7. Grease 2 loaf pans. Punch dough down and divide in half. 
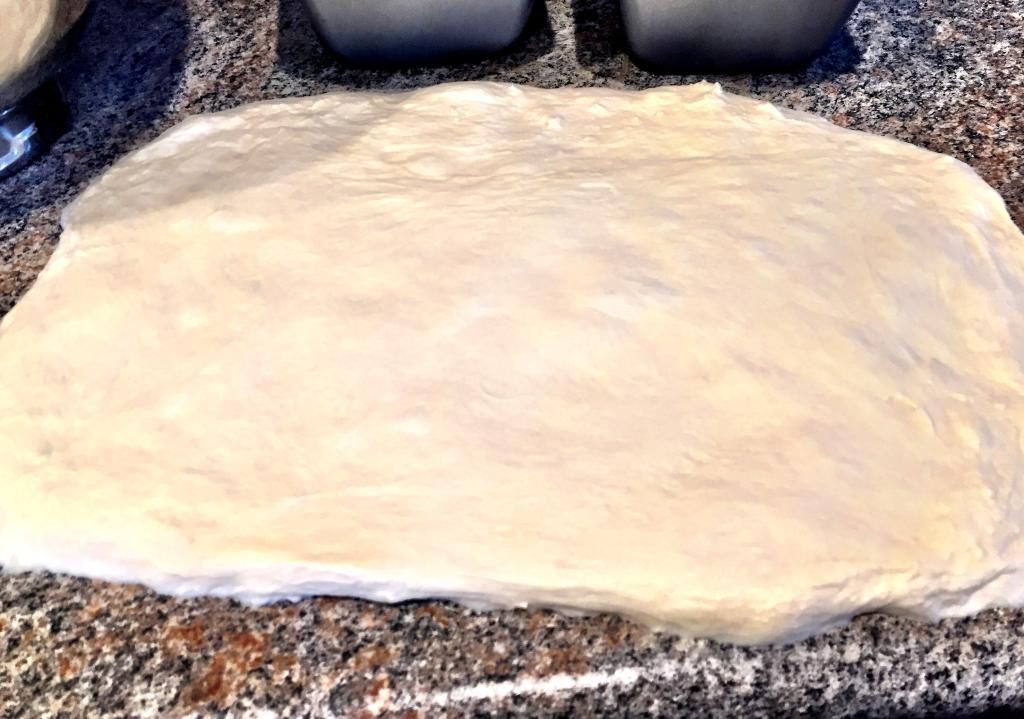
  8. Shape each half into a 9x12 rectangle.
  9. Start at the short end and fold the dough in thirds. 
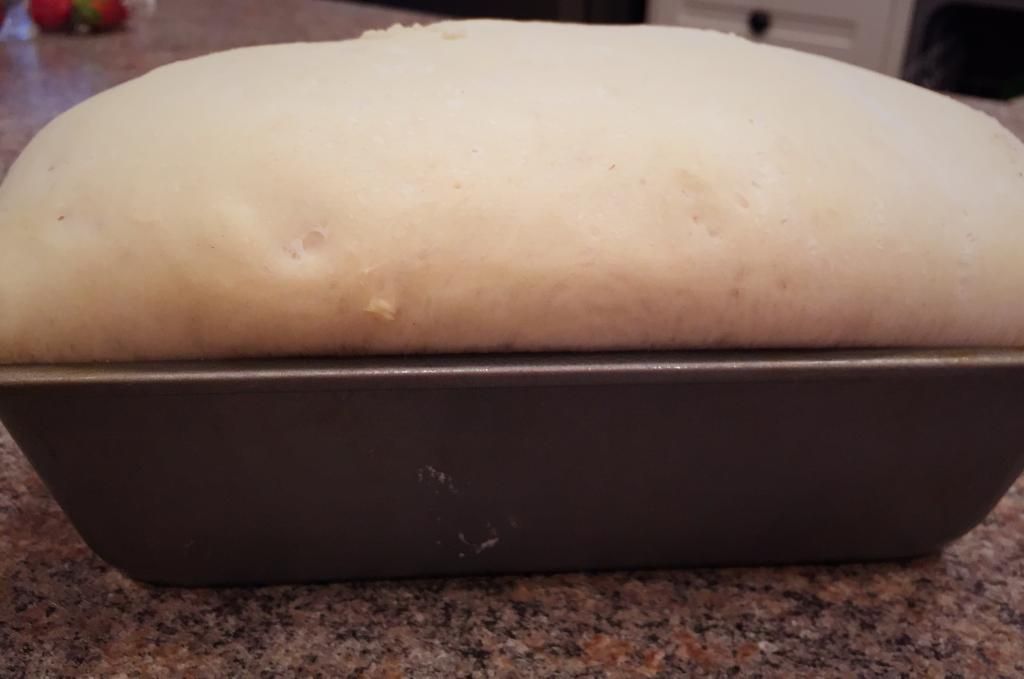
  10. Place seam side down in the loaf pans, cover with towel and let rise for another hour.
  11. Preheat oven to 375 degrees.
  12. Bake for 35 minutes, until browned and hollow sounding when tapped on.
  13. Immediately turn loaves out of pan to cool


What'd You Do This Weekend Featured

Friday, February 20, 2015

Homemade Chicken Stock, Crockpot Style

Making your own chicken stock may, at first glance, seem like a tedious, time consuming and even extreme task.
Especially when you can easily walk into any supermarket and have multiple choices at your fingertips. 

I mean seriously, we don't have enough to do without adding "make chicken stock" to the to-do list?!

I get it. 
And if this recipe wasn't so incredibly easy, fast and delicious, I would be right with you.

But it is easy, fast and delicious, so I'm going to have to insist that you give it a go. 
Please!

Okay. Now that we have that settled, let's make some stock. This stock is perfect in chicken noodle soup, or anything else that requires chicken stock. If you're not going to use the stock right away, it freezes very well. Simply portion the stock into freezer bags and freeze for up to 6 months(truthfully, it will probably stay good in the freezer much longer than that).

Chicken Stock

Ingredients
All of the leftover bones, drippings, skin, etc. from the crockpot chicken
2 stalks celery, roughly chopped
2 large carrots, roughly chopped
1 onion roughly chopped
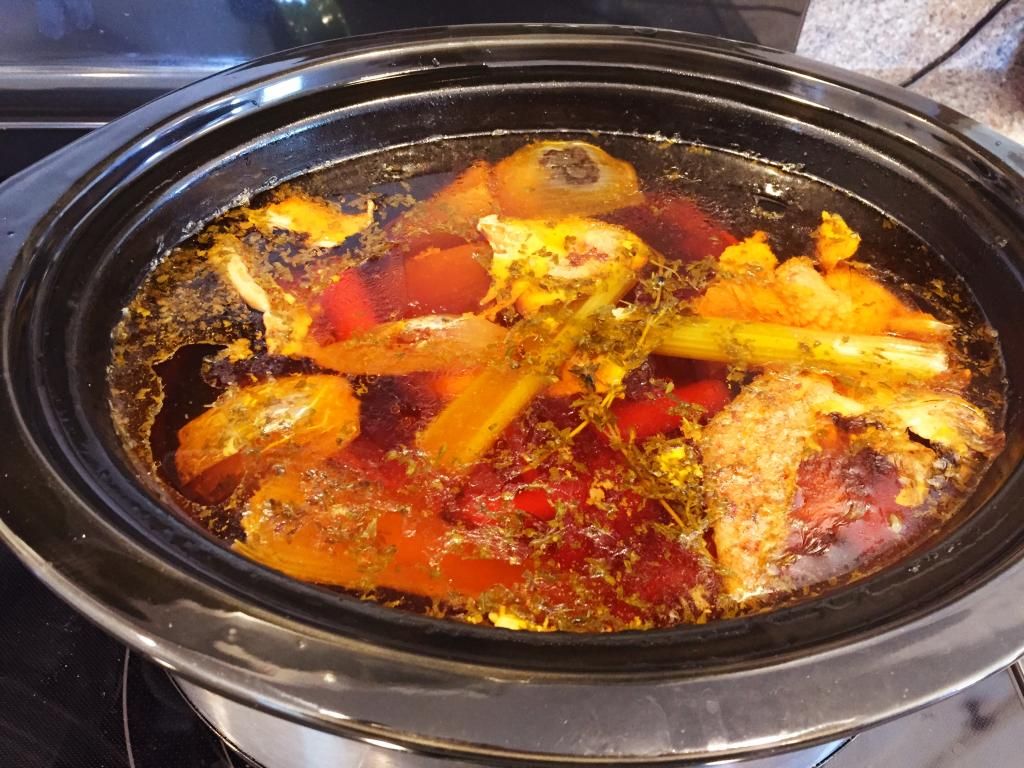
Before straining.

Method
  1. Leave all of the leftover chicken parts in your crockpot after you've removed all of the meat.
  2. Add celery, carrots, and onion.
  3. Fill the crockpot with water and cover.
  4. Cook for 8-10 hours on low. I usually let this cook overnight.
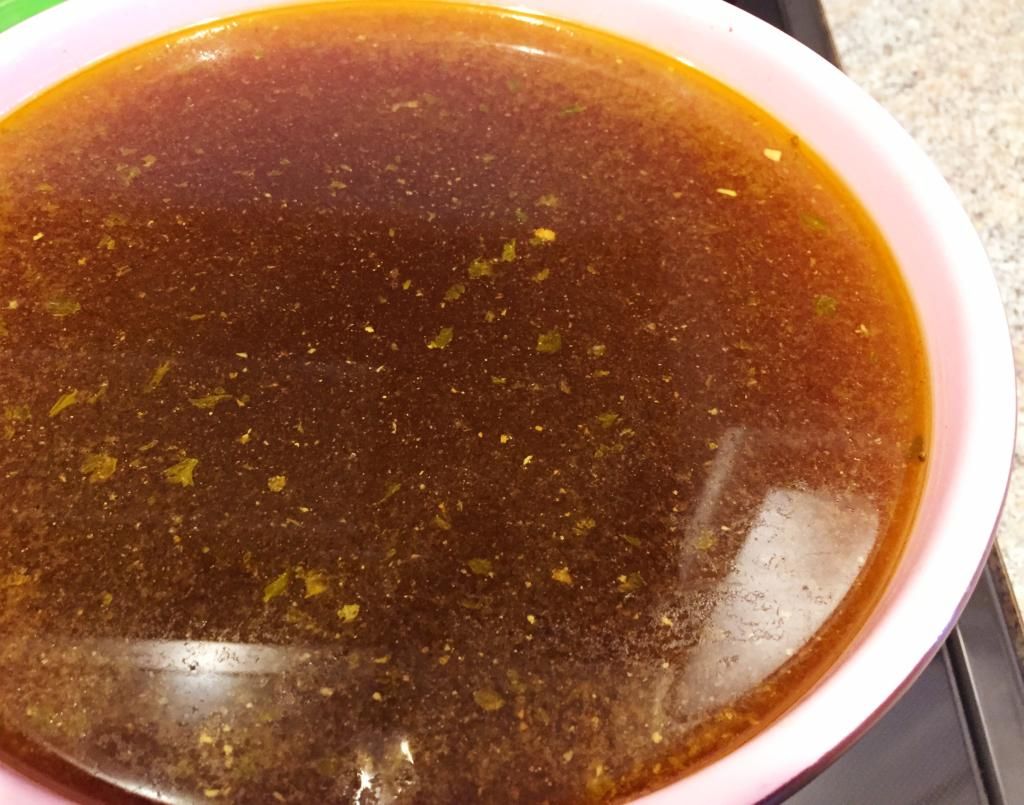
  5. Carefully strain the stock through a mesh strainer. 
  6. Use right away, refrigerate or freeze.

Soup's On!

I love me some soup.
And why not?
Healthy, check.
Easy, check.
Crowd pleaser, check.
Inexpensive, check.
Freezes well, check.
Kid pleaser, check.
And the options are endless...vegetable, noodle, tomato, creamy, lasagna, meaty, brothy, spicy, pizza, cold, hot...

I could really go on about the virtues of soup for quite a while.
But I won't.(Maybe I already did?)
Because we need to get on with the making, so we can get on with the eating.

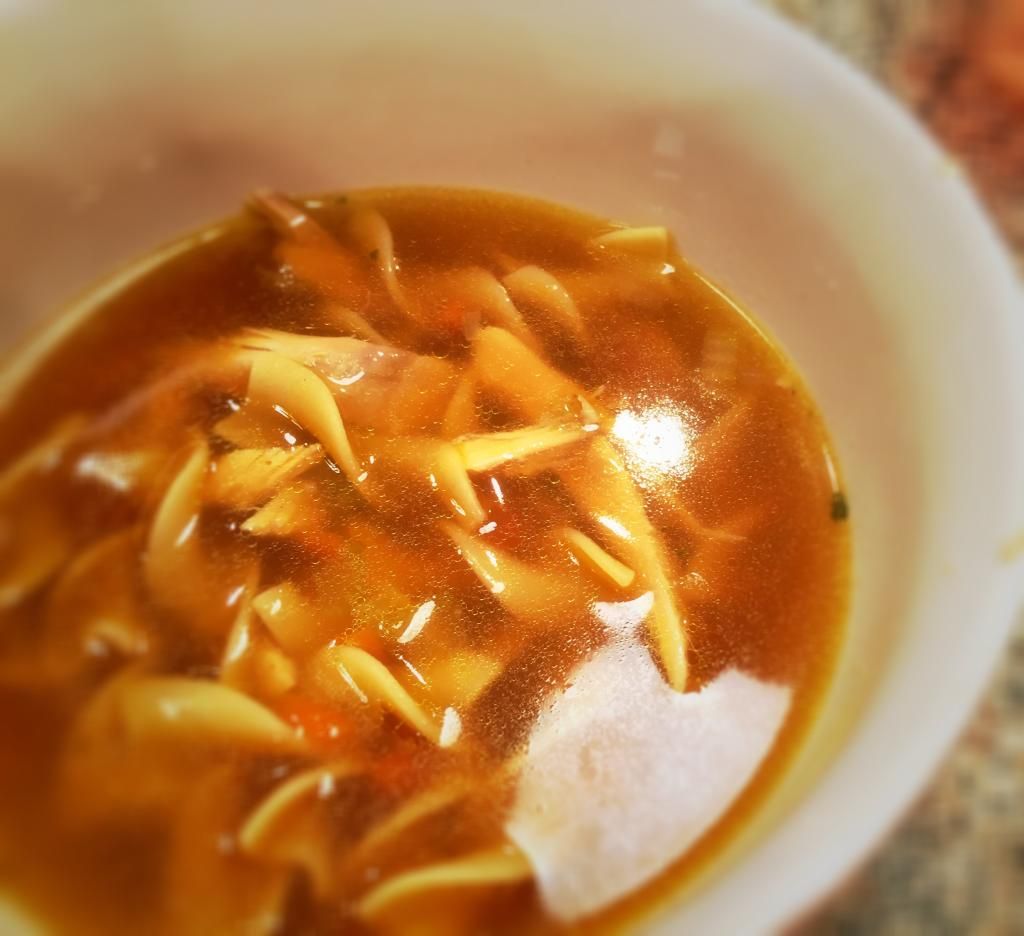
This is my own chicken noodle soup recipe. 
I add two secret ingredients to make this soup extra special.  

I'm going to use the chicken stock I made in my crock pot using the leftovers from my whole chicken recipe
If you don't have homemade chicken stock, and aren't inclined to make any(I've had those days too!) use the store bought variety that comes in the carton. 
The same goes for the chicken. I'm using leftover chicken from the whole chicken in the crockpot recipe. If you don't have any leftover chicken, a store bought rotisserie chicken will work very well.

Chicken Noodle Soup

Ingredients
8 cups of chicken stock
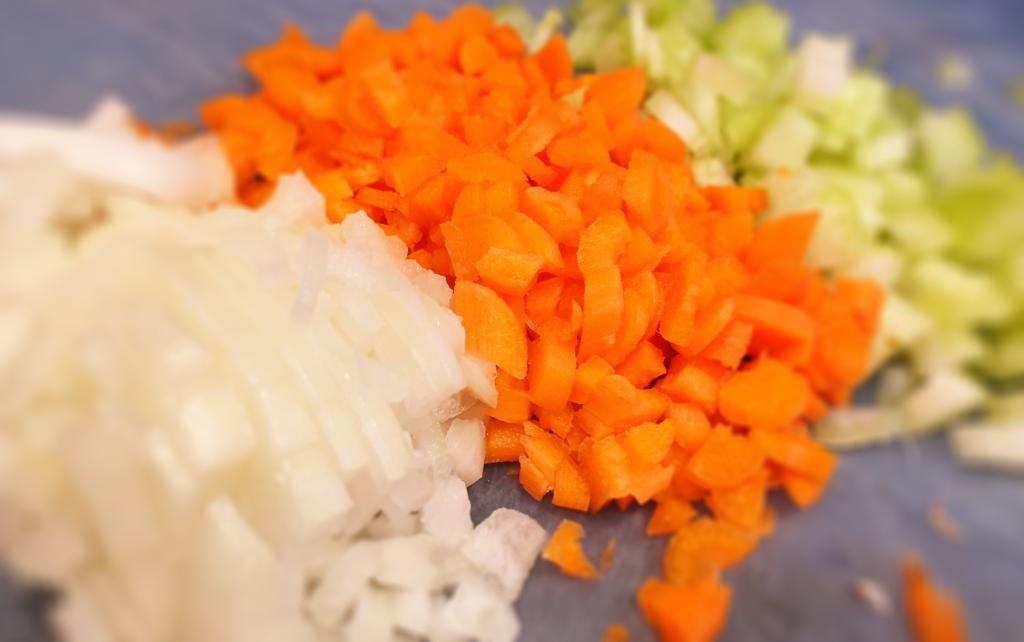
2 ribs celery, chopped
2 large carrots, chopped
1 large onion, chopped
2 cloves garlic, minced**secret ingredient**
2 Tablespoons Olive oil
1/2 package egg noodles, make it more or less noodley depending on your taste
2 cups cooked, chopped chicken
Juice of 1 lemon**secret ingredient**
Salt and pepper to taste

Method
  1. In a large pot, heat olive oil over medium heat.
  2. Add chopped celery, carrot and onion. Cook until tender, about 6-8 minutes.
  3. Add minced garlic and cook for 2 minutes.
  4. Add chicken stock, salt and pepper. Reduce heat to low and cook for 45 minutes.
  5. Meanwhile, cook egg noodles in a separate pot according to package instructions.
  6. 10 minutes before serving, add chicken, cooked noodles and the lemon juice. Heat through and enjoy!


Tuesday, February 17, 2015

Chicken, Of Course!

When faced with the age old question, "what's for dinner," chicken, of course can become a pretty reliable answer. 

I don't know about you, but I get really bored with the old standby; boneless, skinless chicken breasts.
I know that they're healthy, but truthfully rather bland. 
And the other parts of a chicken are great too, and equally as healthy and much tastier!

A little comparison to put your mind at ease...

Chicken Breast  
156 calories, 7 grams of fat, 23 grams of protein 

Chicken Leg
183 calories, 10 grams of fat, 23 grams of protein

As you can see, all chicken is a relatively healthy choice. 

Cooking a whole chicken can seem a little intimidating, although it really shouldn't. It's actually a cost effective and delicious notion.

Do not be afraid.
Using the crock pot method is a no fail solution for cooking a tender, juicy, flavorful bird. 
It won't be dry or overcooked and it couldn't be easier.

Try to remember to take out the giblets that will be found in the cavity of your chicken. 
If I'm being honest, I forgot to do that once and it still turned out just fine.

One tip, try to find a locally raised, pastured bird. It really does make a huge difference in flavor as well as nutritional value. I will warn you that this type of chicken will cost more than the factory farm poultry found at the supermarket, but we are going to use every bit of this little chicky, so it will be money well spent. 

We have chickens on the farm, but I don't have the heart to use them for anything other than egg layers and pets. If you're local, you can find free range chicken at All Good Things Natural MarketTierra Verde Farms  .

Okay, let's get started. The following recipe will be to cook a whole chicken and it will be similar to a rotissire chicken when it's finished. We will then use all of the leftover bones, drippings, spices, etc. to make a flavorful stock right in the crock pot, perfectly suited for Chicken Noodle Soup. I certainly did not invent this method, but I have used it countless times and it's always great. 

Whole Chicken

Ingredients
Chicken, somewhere around 5 pounds
2 teaspoons paprika
1 1/2 teaspoons salt
1 1/2 teaspoons onion powder
1 teaspoon garlic powder
1/2 teaspoon black pepper
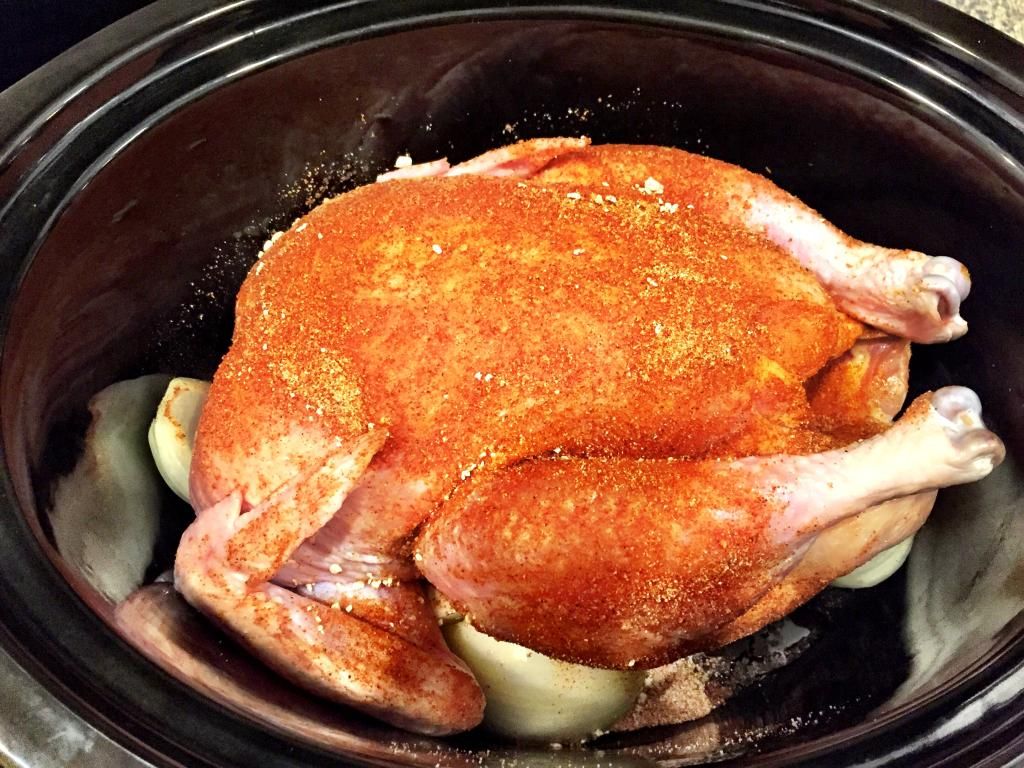
Before
1 onion, loosely chopped

Method 
  1. Combine spices in a small bowl.
  2. Place the chopped onion in the bottom of the crock pot.
  3. After removing giblets, rub spice mixture all over the chicken.
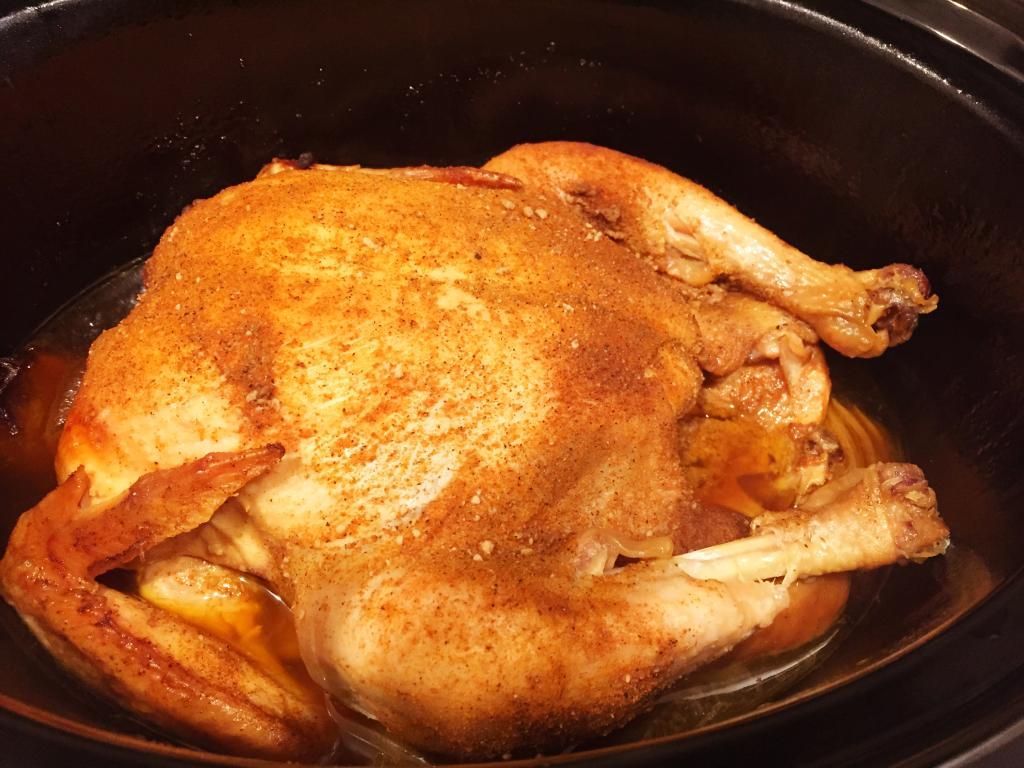
  4. Place chicken on top of onions and cook on low for 8 hours or high for 5 hours. There is no need to add additional liquid to the crockpot.
  5. Save all leftover bones, skin, liquid and onion in crockpot to make chicken stock!
    After

Wednesday, February 11, 2015

Valentines Day, And Other Fluff

The dead of winter.
Depressing turn of phrase, but oh so true.
Nothing much is growing in northeast Ohio.
No major holidays or celebrations.
Activities are at a minimum.

Around now I try to look for anything to boost morale, including making a big deal out of a little holiday called Valentines Day. 
It's a holiday devoted to love!
Who doesn't love that?
Ok. A lot of people.

It's cheesy and commercialized. 
It's silly and frivolous.
We should express our love everyday, not just in mid February.
I get it. 

But, it's February and we need a reason to celebrate, so I'm going for it. 
I hope you drape everything in pink, cut out a million paper hearts and make these special treats.

Cheese is good, in moderation.

Homemade Marshmallows
I often make these at other times of the year without cutting them into heart shapes, so if you're short on time, skip that part and just use a knife and cut them into squares.

Ingredients
2 1/2 Tablespoons unflavored gelatin
1 1/2 cup sugar
1 cup light corn syrup
1/4 teaspoon salt
2 Tablespoons pure vanilla extract
Confectioners sugar-for dusting
Chocolate wafers-for melting

Method
  1. Combine gelatin and 1/2 cup cold water in the bowl of an electric mixer. Let this stand while you prepare the rest of the recipe.
  2. In medium size heavy saucepan, combine granulated sugar, corn syrup, salt and 1/2 cup of water. Cook over low heat until sugar has dissolved.
  3. Wash down the sides of the pan with a wet pastry brush to dissolve sugar crystals.
  4. Clip on a candy thermometer and cook on high without stirring until the syrup reaches 244 degrees.
  5. Immediately remove pan from heat.
  6. With mixer on low speed, slowly pour the hot syrup into the gelatin mixture. 
  7. Add vanilla.
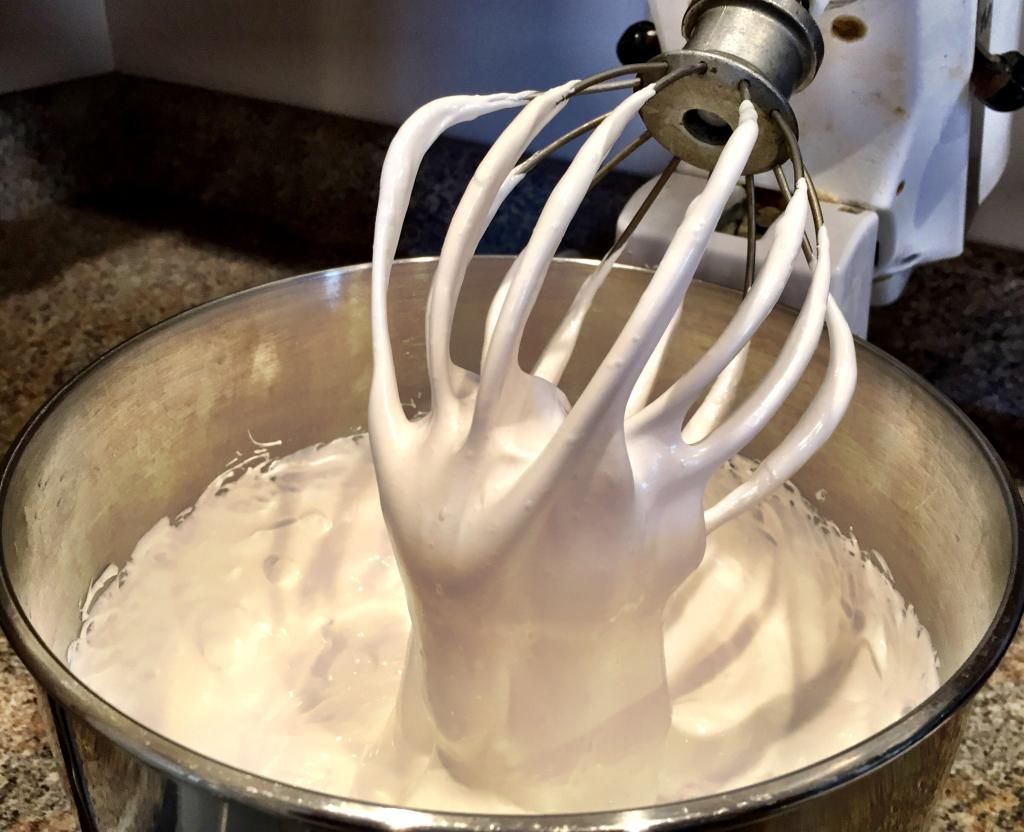
  8. Increase speed to high. Beat until the mixture is very thick, white and has tripled in volume. Approximately 15 minutes.
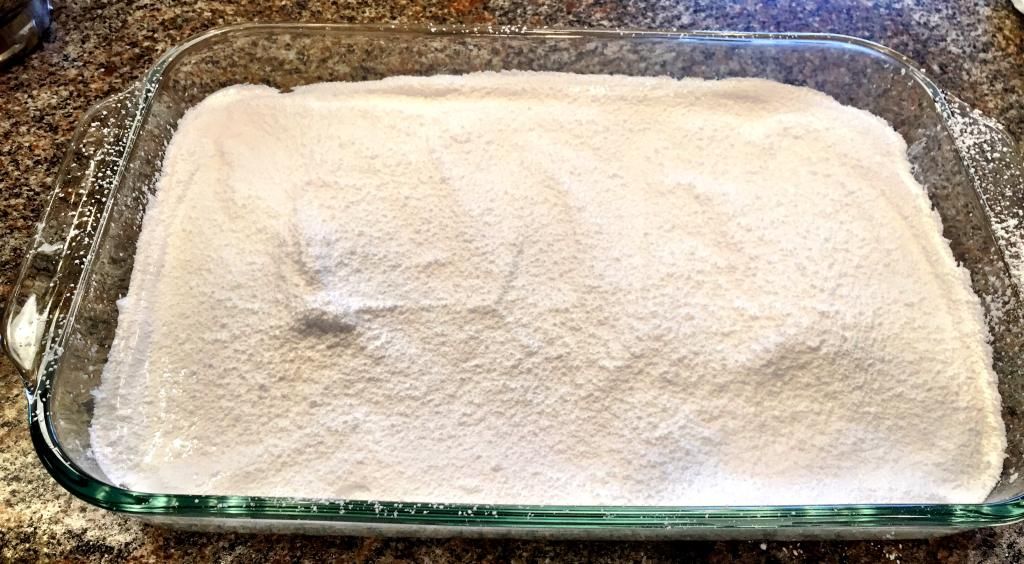
  9. Generously dust a 9x13 pan with confectioners sugar.
  10. Pour marshmallow mixture into prepared pan and smooth into an even surface. Dust the top with confectioners sugar and let dry overnight.
  11. Using a heart cookie cutter, cut hearts out of marshmallow.
  12. Melt chocolate wafers in the microwave 30 seconds at a time, stirring each time until melted.
  13. Using a toothpick, pierce the side of the marshmallow heart and dip in chocolate. Let excess chocolate drip off and place finished heart on waxed paper to dry.