I'm seriously kinda obsessed with them.
Functional, beautiful, environmentally friendly, affordable...
And there are so many uses!
Canning
Freezing
Food storage
Crafts
But today's recipe and its use of jar lids takes the cake.
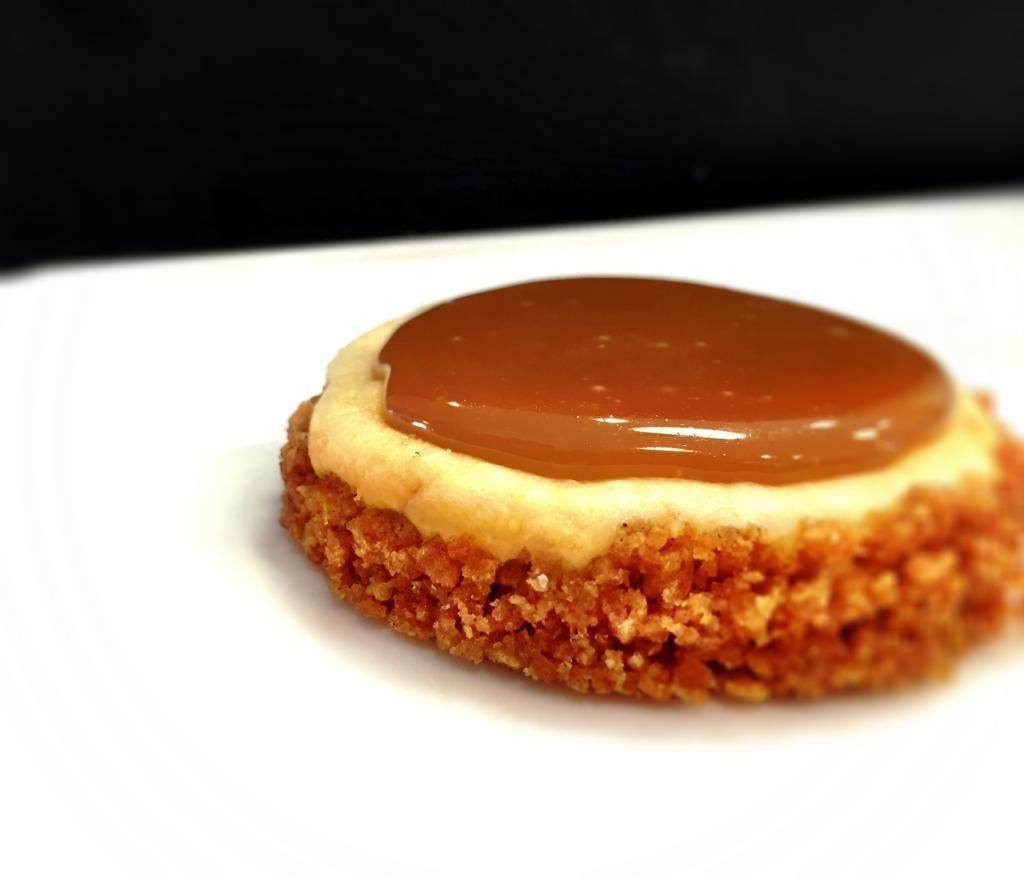
The cheesecake.
These perfectly portioned cheese cakes are easy, delicious and adorable.
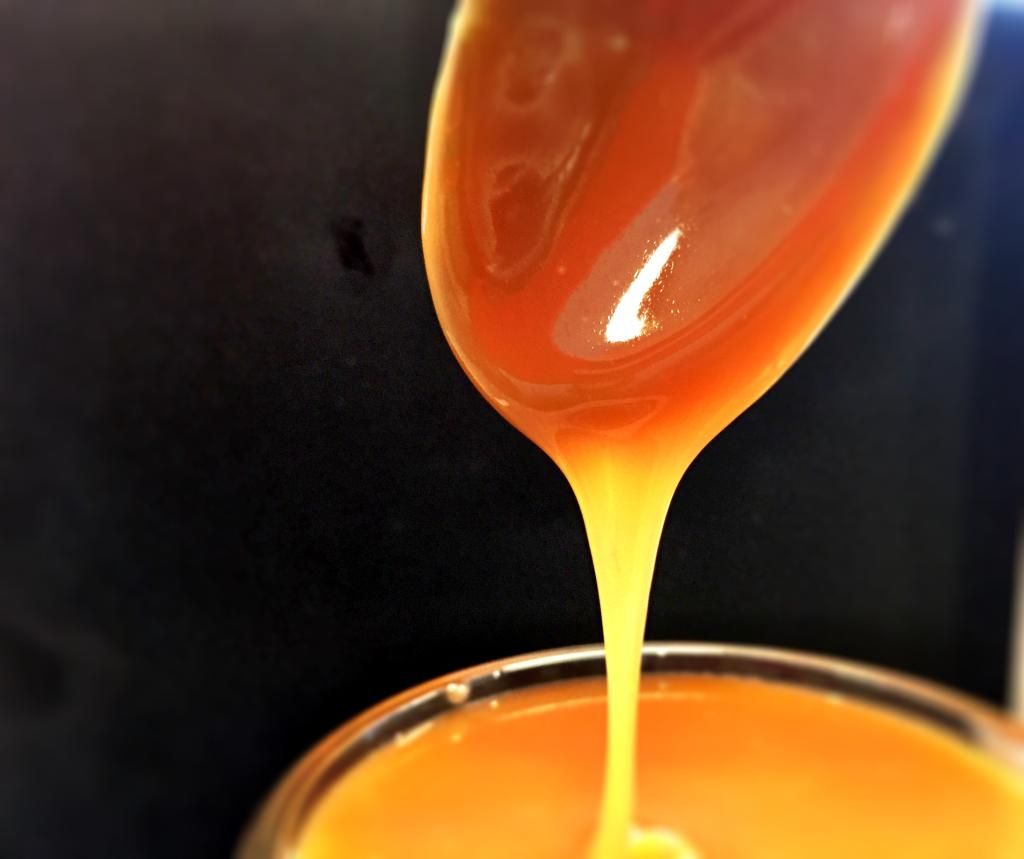
I've topped mine with a simple caramel sauce, but feel free to be creative.
Classic cherry
Fudge
Blueberry
Salted caramel
Lemon curd
Lots of options!
Make one or make 'em all and have a cheesecake bar at your next gathering.
Or just after dinner tonight!
Mini Mason Jar Cheesecake
The Mason jar lids and rings will act as mini spring form pans. After cheesecakes have baked and cooled you will be able to easily pop them out of the rings.
Ingredients
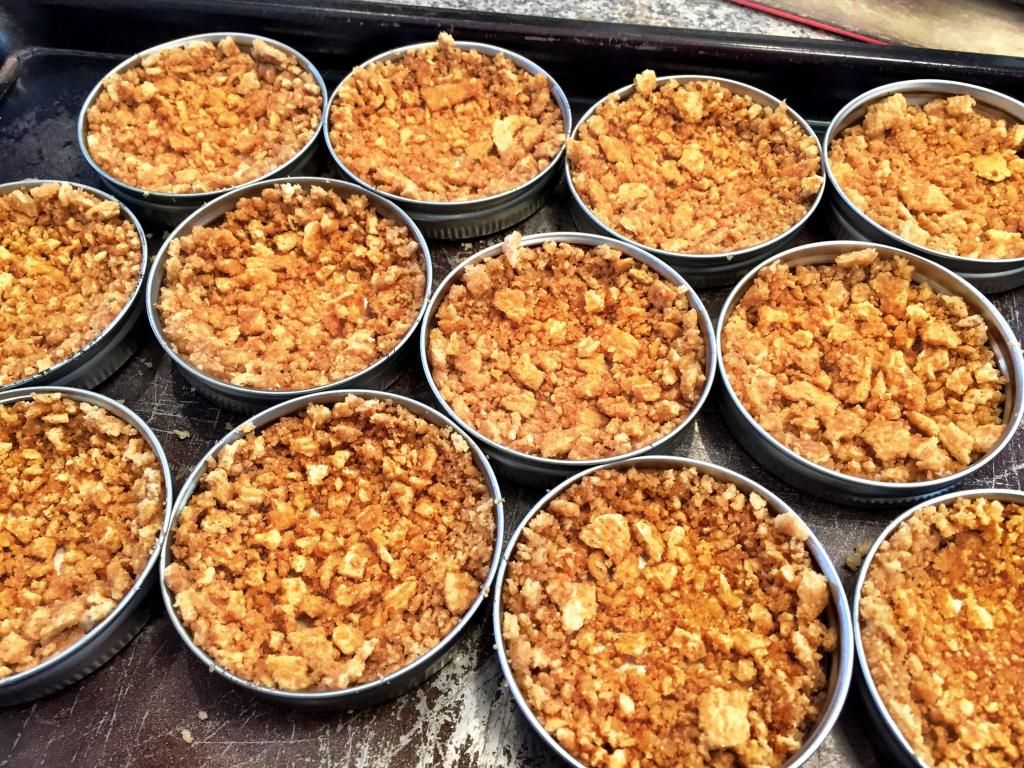 |
| Cereal crusts. |
1 cup crushed Cinnamon Toast Crunch(about 2 cups whole cereal)
3 Tablespoons butter, melted
Cheesecake filling:
1 8 oz cream cheese, room temperature
1/3 cup sugar
2 teaspoons flour
1 egg
1/2 teaspoon vanilla
2 Tablespoons sour cream
2 Tablespoons cream
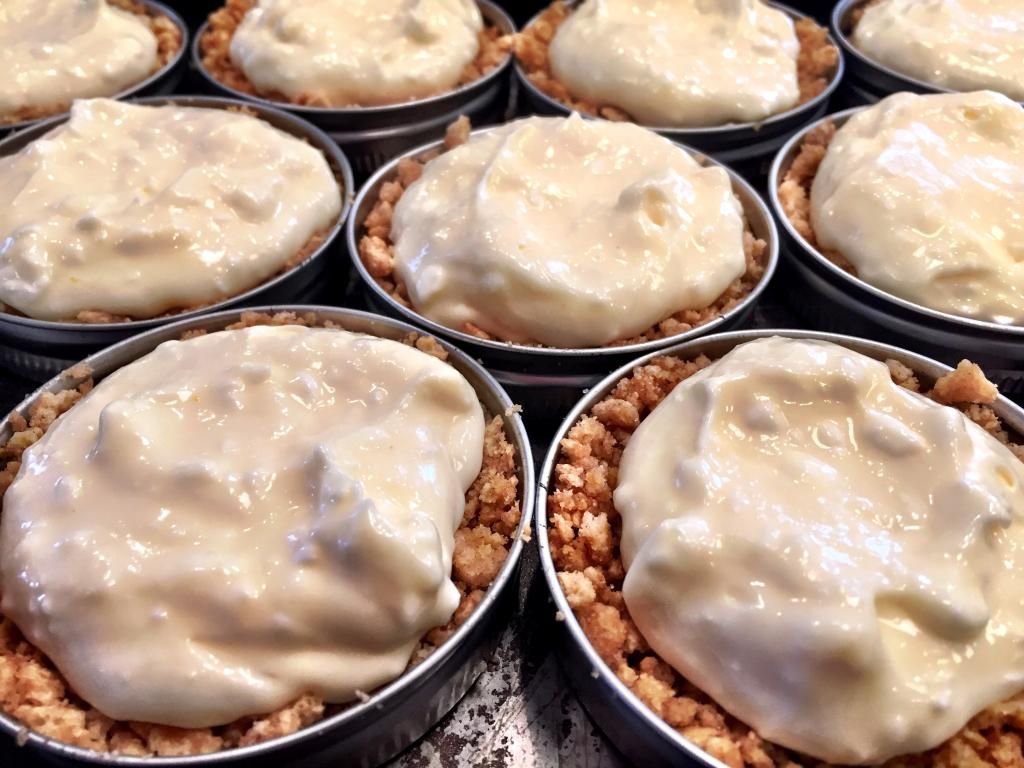 |
| Before heading to the oven. |
1/2 cup butter
1 cup brown sugar
1/3 cup heavy cream
Method
- For crust, combine crushed cereal and melted butter.
- Press the cereal combination into 12 mason car lids/rings.Set aside.
- Preheat oven to 350 degrees.
- For cheesecake filling, combine all ingredients in the bowl of an electric mixer.
- Starting on low, mix ingredients. Gradually increase mixer speed until smooth.
- Divide filling among the 12 prepared crusts. Do not overfill.
- Bake for 12 minutes and then turn oven off and leave cheesecakes in the oven for 10 more minutes. Do not open the oven door.
- Remove cheesecakes and cool completely.
- For caramel topping, melt butter in a medium sauce pan.
- Add sugar and cream. Whisk constantly over low heat until sugar is dissolved.
- Bring to a boil and boil for 3 minutes.
- Remove from heat and cool.
- Remove cheesecakes from jar lids and top with cooled caramel topping.